Instructions for Using Viddler
Step One: Creating Your Account, Adding Friends and Joining Groups
- Go to Viddler
- Create an account, using your UW Net ID as a username if possible.
- After you’ve verified your email and logged in, you’ll need to friend
“english345”
(Kimberlee's not-so-secret identity). Search for “english345” using
the People option on the Search button drop-down menu.
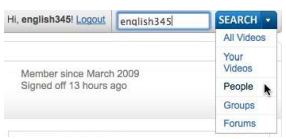
Click on “english345” in your search results to access my profile and add me as a friend with the Add as Friend option. In your message to me, indicate who you are. - In addition to friending “english345,” you’ll also need to join the group “UW English 345.” Click the Join Group button next to the group name to add yourself to our class group.
Step Two: Downloading a Video From the Group Site and Uploading It to Your Account
Because multiple students will choose the same clip to annotate, each person will need to make his or her own copy of the clip and upload it to his or her account. To do so:
- Go to the class group: UW English 345.
- Click on the Videos tab to see the clips I’ve uploaded for annotation. Please note that you must be logged on and be a friend of “english345” to see the clips.
- Once you’ve selected a clip you’d like to annotate, click the
 icon beneath the video window. Choose Flash from the
options that appear. Save the film file on your computer.
icon beneath the video window. Choose Flash from the
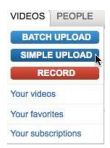
options that appear. Save the film file on your computer. - To upload the video to your own account, select Simple Upload
from the Videos drop-down menu at the top of the screen.
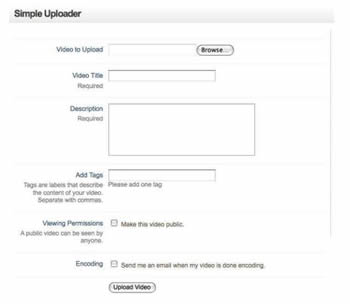
- On the upload screen that appears, use the Browse
button to locate the film file you saved to your computer. Give the
clip a distinct title and description that lets viewers know who is
annotating which clip. If you would like to make the video public, you
may. Remember, though, that anyone with a Viddler account will be able
to see your annotation.
Step Three: Annotating the Video
- Access your uploaded video using the My Videos option from the Videos drop-down menu.
- Viddler allows you to make video and text comments. To access commenting
options, click on the + button next to the video play
bar. A pop-up menu will appear.
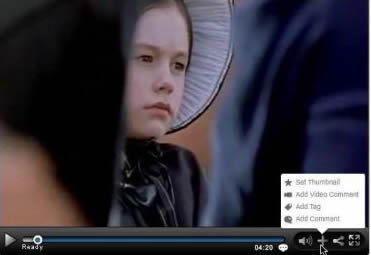
- To record a video comment with a built-in webcam, pause the video and select Add Video Comment from the pop-up menu. Viddler will locate your web cam and display a pop-up box that allows you to start and stop recording.
- To type a comment, pause the video and select Add
Comment from the pop-up menu. A comment box will appear. Type
your comment and click the Okay button.
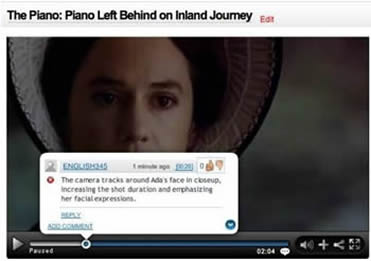
- To delete comments, click on the dot that marks your comment on the play bar. Click the blue arrow to open the comment box. Click the red X button to delete your comment. You may also delete your comment from the list of comments that appears below the play window. Note that you cannot edit commentary; you may only delete and redo.
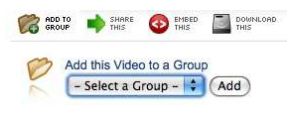
Step Four: Adding the Annotated Video to the “UW English 345” Group
Once you’re satisfied with your annotation, you’ll need to share it with the class group. To do so, click the Add to Group icon below the video play window and choose “UW English 345” from the drop-down menu. Click the Add button.