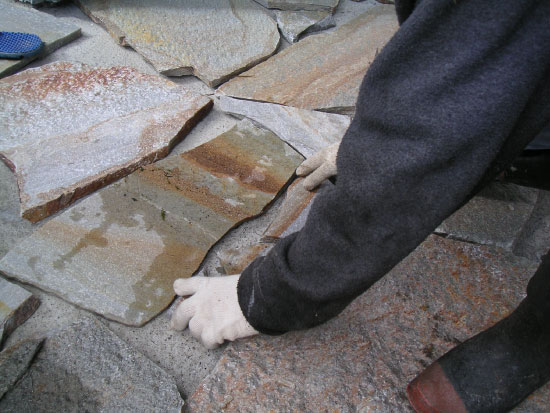
We first loosely placed stones on the entryway to make sure that we had enough stones
to cover the whole porch as shown below in Figure 1. Some of the stones needed to be
broken to shape using the rock hammer.
Figure 1: Loosely setting stones in place.
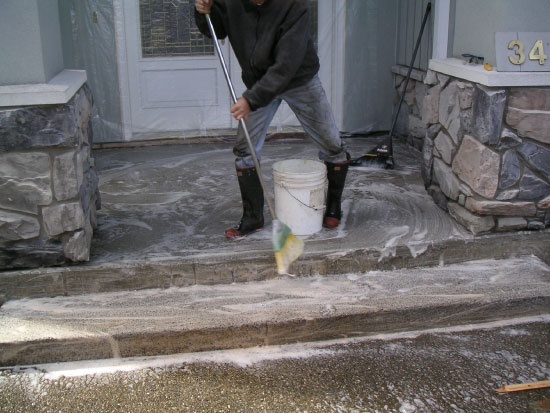
Once we verified that it would be feasible to cover the porch, we moved the stones away and then washed
the surface with the concrete cleaner and degreaser. We applied this with a broom and let it soak for
10 minutes before rinsing it off and then applyed a second wash.
Figure 2: Washing steps.
We then cut the narrow strips of stones that would go on the vertical section of the step using the wet saw.
At this point, we were then ready to begin setting the stones.
We then mixed up a bag of grout. Be careful when handling the grout. Wear a respirator and wear a pair of
latex gloves underneath your pair of work gloves. This is because there are fiberglass shards in the grout
which will become embedded in your hands if you don't have a pair of water proof latex gloves on underneath
your work gloves.
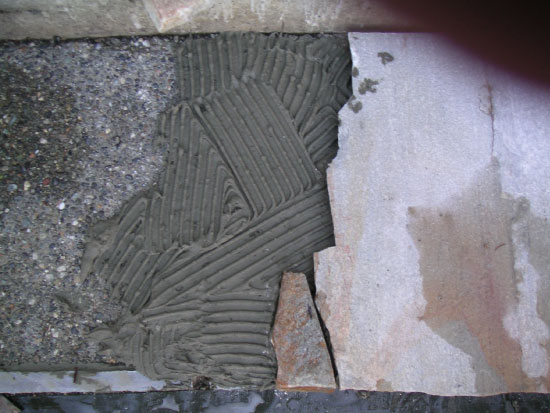
We then applied the grout to the steps with the grout trowels and then set the stones on top of the grout
as shown below in Figure 3. For the small vertical sections, it was actually easier to apply the grout to
the back of the rock and then simply press the rock up against the steps.
Figure 3: Applying grout with trowels and setting stones on top.
We continued doing this for all the stones. Be careful of excess grout. If some grout falls on a stone or
part of the driveway, be sure to wash it off quickly because if it dries and sets, it will stain the surface.
When it is wet, it is simple to remove excess grout using a wet sponge. Simply wet and wipe away until all the
grout is gone. The project at this point is shown in Figure 4.
Figure 4: All stones set with grout and cleaned with wet sponge.
Applying Grout
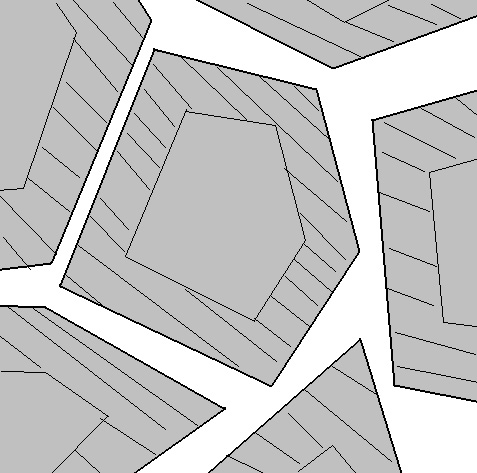
After letting the grout set for 24 hours, we then applied grout release along the edges of the rocks.
We applied a 2" band of grout release around the perimeter of each rock. This is shown below in Figure 5.
The grout release makes sure that the grout doesn't bond to the top of the rock (this becomes important in
the next step).
Figure 5: Grout Release is applied around perimeter of each rock.
After letting the grout release bond to the rock, we then used light grey colored grout to fill in the
gaps between the rocks. We wiped excess away with a wet sponge.
After the grout between the rocks dried, we applied a silicon based finish to the entire surface. This fill
in the pores in the rocks and makes the surface resistant to stains.
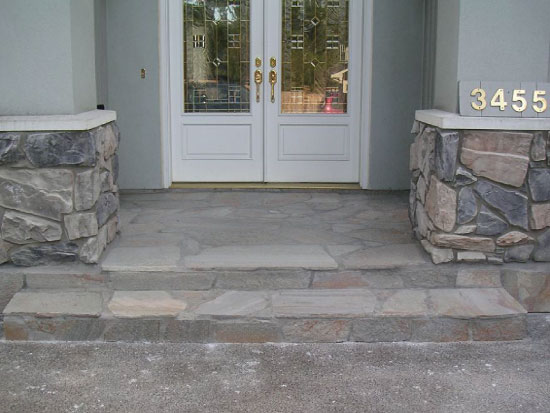
The completed project is shown below in Figure 6. You can compare the before and after pictures by moving
your mouse cursor over the picture.
Figure 6: Finished project (mouse over to see before picture)