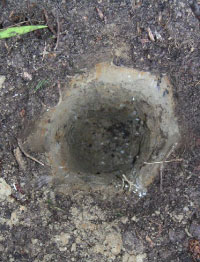
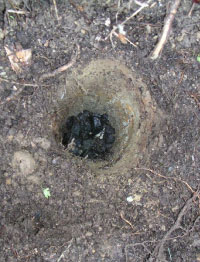
[an error occurred while processing this directive]

Free Standing Trellis

Start Date 03/18/06
Finish Date 03/18/06
Cost Approx. $80
Time Required 3 Hours
Project Complexity
   
   
Project Statistics Guide    


Tools List

  • Post Digger
  • Steel Rod (for digging post hole)
  • Chop Saw
  • Hand Saw (for cutting lattice)
  • Measuring Tape
  • Level
  • Hammer
  • Power Screwdriver
  • Drill Bit (for drilling pilot holes)
  • Philips Head Bit
  • Quick Release Clamps or C-clamps (4)
  • Wheelbarrow (for mixing concrete)
  • Extension Chord
  • Work Gloves
  • Safety Glasses
  • Pencil
  • Straight Edge (optional)

Parts List

  • 4"x4"x8' pressure treated post (2)
  • 1"x1"x8' post (2)
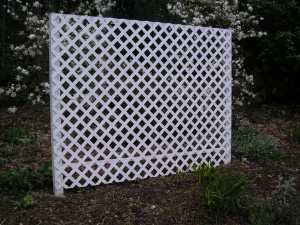
  • 4' by 8' trellis sections (2)
  • 60lbs Cement bags (2 @ $3.99/bag)
  • Finishing Nails
  • 2" screws

Procedure

  1. We dug two holes spaced 7' 8" apart on center. The holes were approximately 2' deep.


  2. Once the holes were dug, we added about 6" of large gravel to the bottom of the hole. This would allow water to drain out the bottom.


    (a): Before adding gravel

    (b) After adding gravel
    Figure 1: Hole before and after adding gravel

  3. Place both posts in their holes and then make them approximately vertical using the level and clamp them in place.


  4. Since the two posts are probably not the exact same height, run the straight edge across horizontally from the shorter post to the taller post and marker where needs to be cut in order to make the two posts the same height. Cut the taller post so that both posts are the same height.


  5. Reinsert the posts and make them level again. Be sure that the posts are not rotated about the vertical axis.


    Figure 2: Top view of two posts showing good and bad rotation

  6. We then cut the 1" x 1" pieces so that they fit between the two vertical posts and attached them to the two posts by toe-nailing them in using two screws at each interface. (Remember to drill pilot holes before putting in the screws to prevent the 1" x 1" from splitting). These rails were placed so that they were flush with the front of the posts. The frame at this point is shown in Figure 3.


    Figure 3: Frame only showing bracing

  7. At this point we were ready to install the trellis. Keep in mind that the trellis actually measures 7' 11.5" in the long direction. We cut the first piece making sure to make the cut at a section where it would match the second piece (click for more information). We cut the second piece so that it just touched the dirt.


  8. We then used small finishing nails to tack the trellis onto the frame.


  9. We rechecked the posts for vertical once again.


  10. We then mixed two bags of concrete (one for each post) in the wheelbarrow. It claims that you add 0.5 gallons of water to each bag, but this was really dry. We ended up adding some more water but I think we added a little too much. The concrete turned out a little watery.


  11. We then poured in one bag of concrete per post. We also made sure to shape the concrete so that water runs away from the post in all directions. This is shown below in Figure 4.


    Figure 4: Concrete encasing post showing downhill slope in all directions

  12. Now you're done! We let the concrete harden for a few days before removing the bracing. The finshed project is shown below in Figure 5.


    Figure 5: Finished product

Alison Lum Events
[an error occurred while processing this directive]